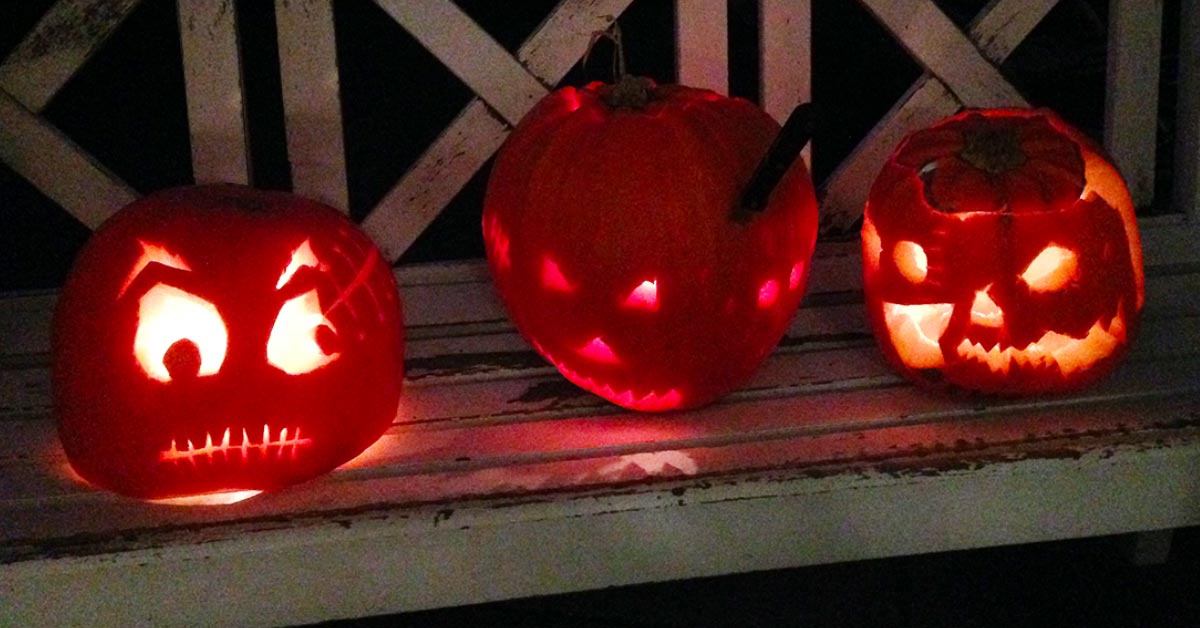
If this is the first time you’re carving scary and fun pumpkins in the lead-up to Halloween, we’ve put together a little guide for you to get started, without having to worry about it going scarily wrong!
- What you’ll need:
- Knife, with a sharp and small blade – so you can easily make round carvings should you want or need to. Find a small serrated blade, so the kids can carve mouth, nose and eyes.
- Spoon to hollow out the pumpkin for seeds and flesh.
- Waterproof marker/pen to draw your motif
- (Optional) food preservative to rub onto the inside of the pumpkin to prolong the lifespan by a few days.
- (Optional) rubbing alcohol to remove marker/pen.
- Dry the pumpkin so the surface is completely dry.
- Firstly, decide how the pumpkin will be facing when you display it. For instance, if the “best” side of the pumpkin has a bit of a slope, you may need to place your motif slightly higher. So check how the pumpkin will be displayed before you start drawing.
- Draw your motif. Remember to keep in mind that the bits you draw will be the bits that get cut away. Also remember to draw how the top should be carved.
- Cut off the top of the pumpkin. This may be easier with a larger blade – so you get all the way through the top, and dislodge the top of the innards of the pumpkin.
- Scrape out all of the insides with the spoon. Optionally you can save all of the pumpkin seeds and roast them for tasty, crunchy pumpkin snacks. See the recipe here.
- Pat the inside of the pumpkin dry and optionally brush with a food preservative – it can extend the lifespan somewhat.
- Carve your motif.
- Place a tealight inside the pumpkin and pop it outside. Remember to place the pumpkin on some sort of surface, so it’s not directly on the ground – this will extend the lifespan a bit as well.
Extra tips:
If you’re feeling brave and up for a slightly different kind of pumpkin, play around with alternative methods of carving it. For example, you can cut out the bottom and then lift up the whole pumpkin when it needs a new light in. Or you can cut the pumpkin horizontally across and have that be part of the motif. Only your imagination is the limit!
Happy Halloween and All Saints Day – and have fun carving pumpkins!
All the best
Marlene


