
Ingredients
( 2 adults and 2 kids )
- 100 gramsquinoa
- 1 onion
- 1 clovegarlic
- 1 red bell pepper
- 1 green bell pepper
- 100 gramssweetcorn
- 2 tomato
- 500 gramsbeef mince
- 2 tspcumin
- 1 canchopped tomatoes
- 70 gramstomato purée
- 1 cankidney beans
- 1 cubebeef stock
- 1 wholewheat baguette
- tortilla chips
- salt
- pepper
- olive oil
About the recipe
35 MIN
0 MIN
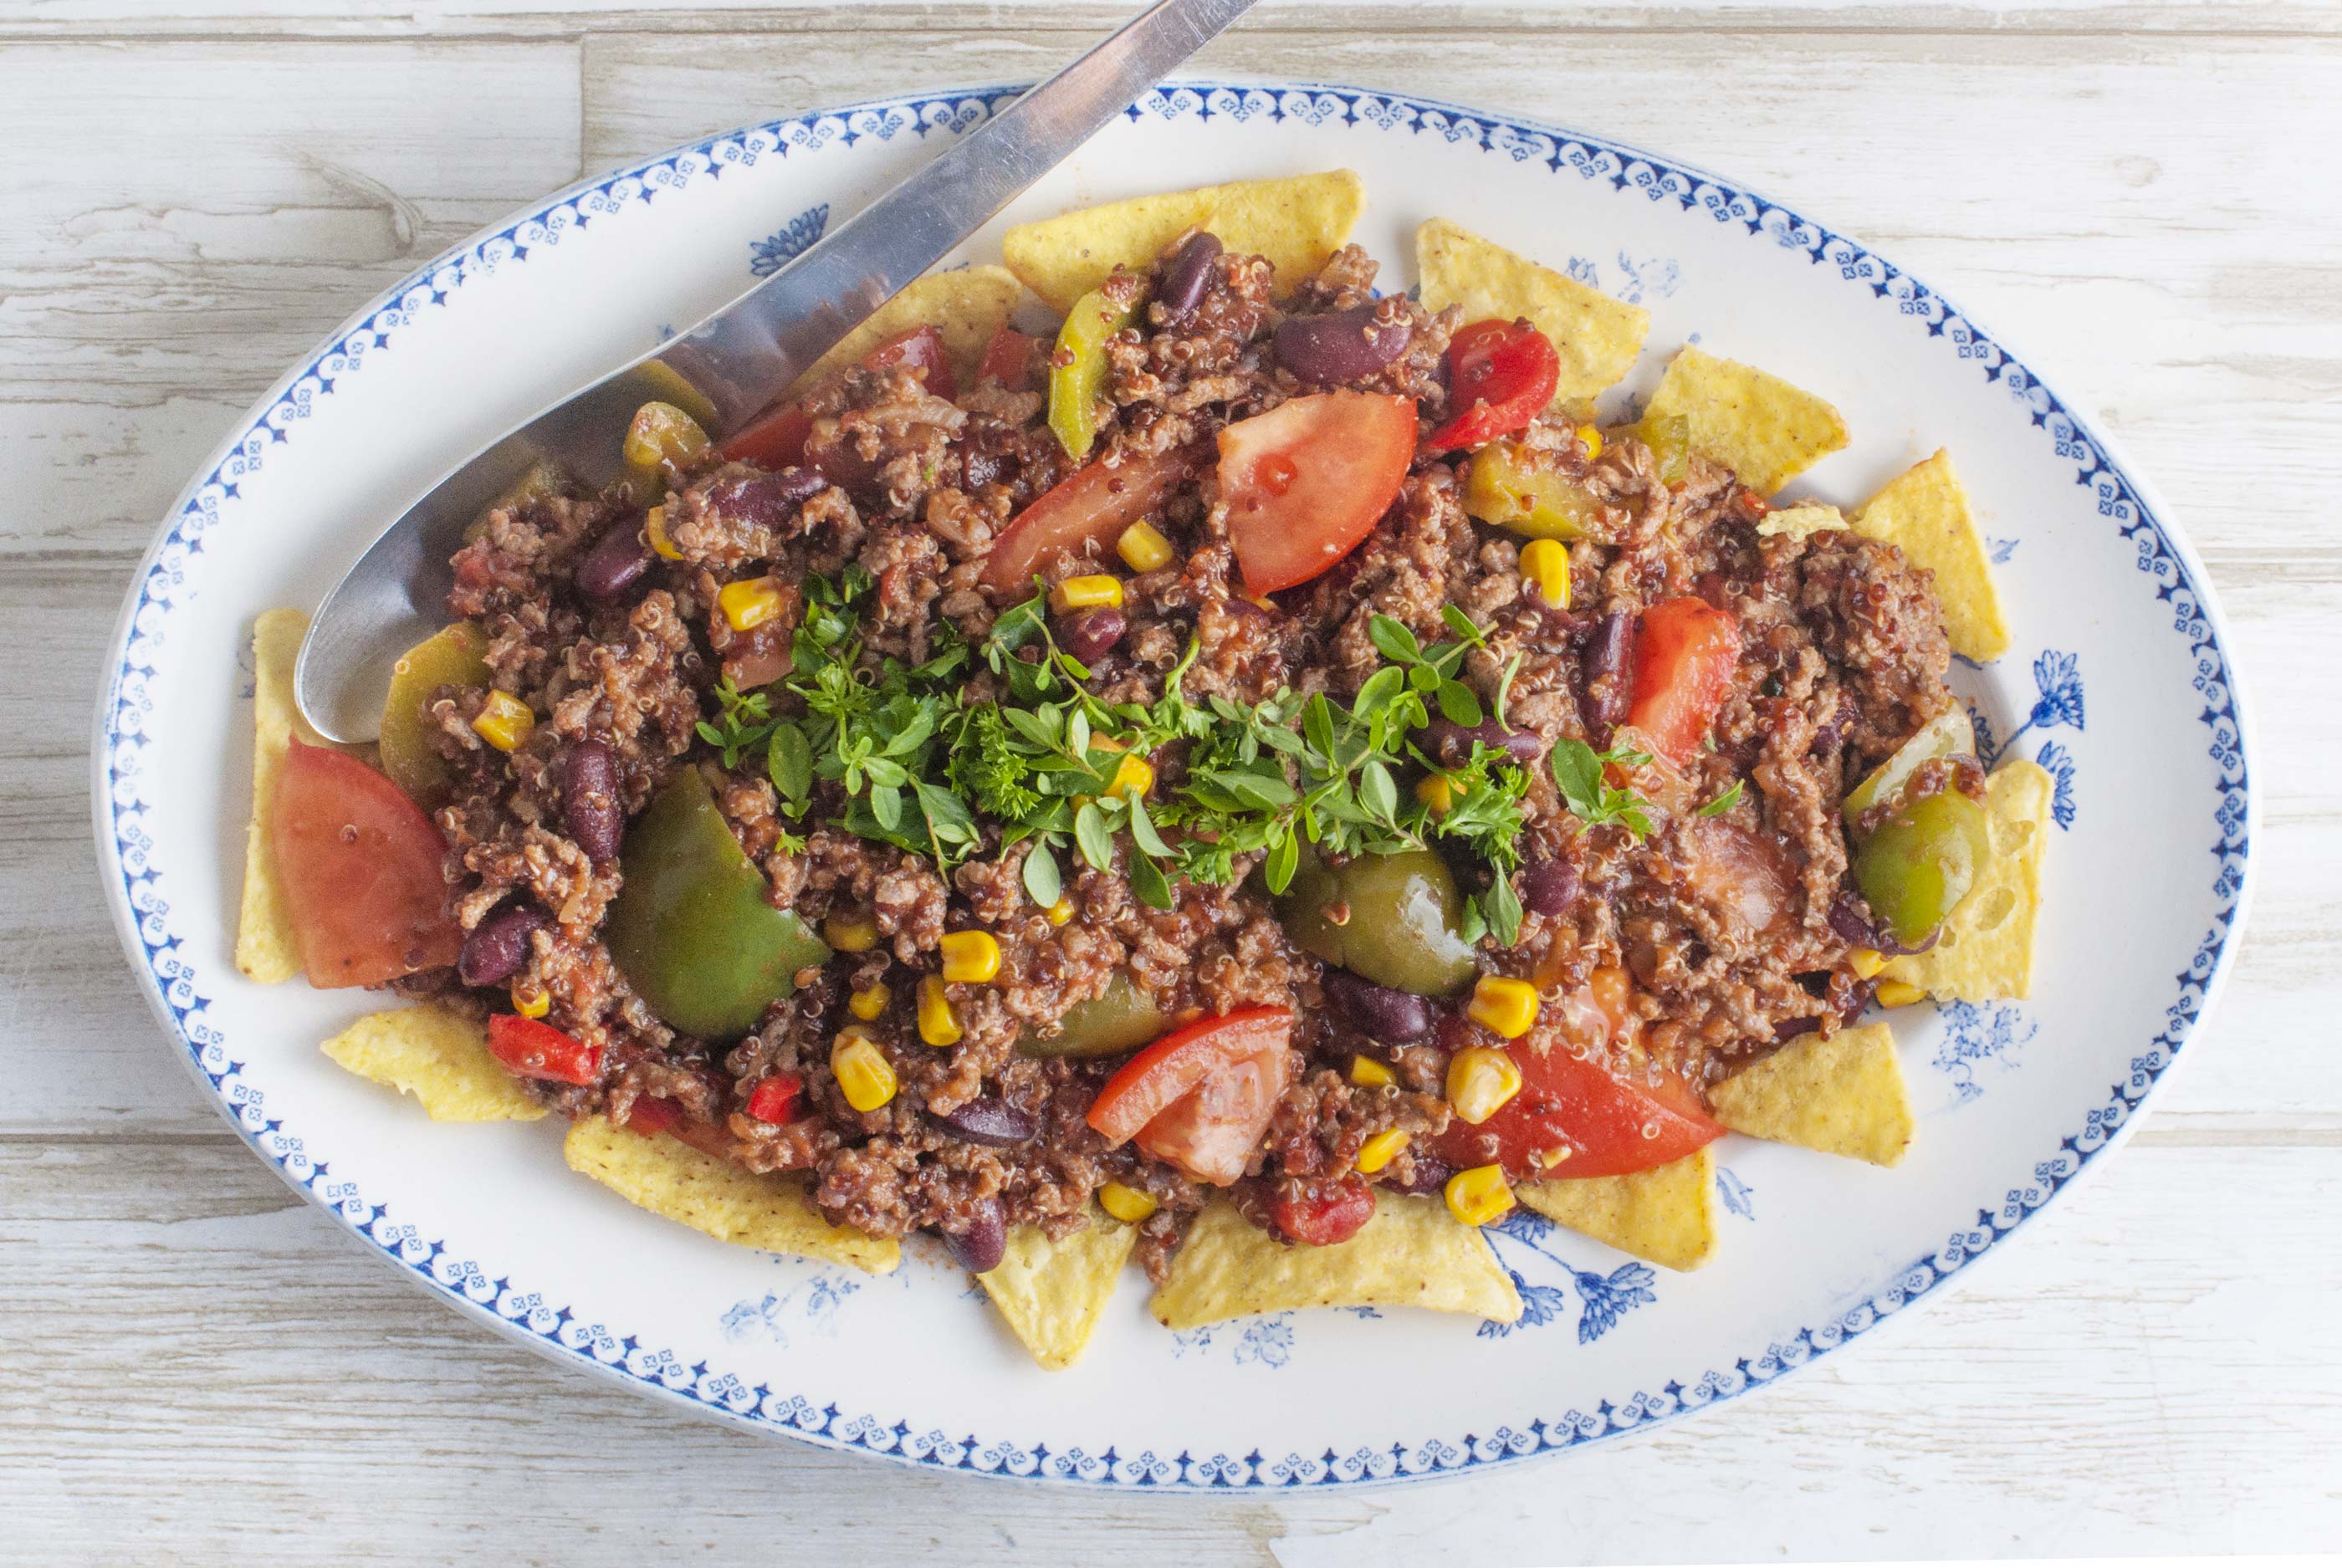
We're not sure how many Mexicans have made this exact version of our quinoabake - but no matter! Just imagine yourself with a thin moustache and a sombrero, and have a seat at the table - and it's almost like being in Mexico. Note that this recipe is also available for two days. Enjoy!
Directions
1. Preheat your oven to 200 degrees convection.
2. Boil the quinoa following directions on the packet. Remember that quinoa needs a thorough rinse before you boil them, to get rid of any impurities.
3. Start by sorting out your veggies. Finely chop onion and garlic - you can use a mini chopper if you're in a hurry, it's quicker. Clean and rinse the bell peppers and roughly dice. Rinse or thaw the sweetcorn, rinse the tomatoes and roughly dice those as well. Then pop the lot off to the side for now.
4. Cook onion and garlic for a few minutes with a bit of olive oil in a deep pan or pot. Add beef and half of the dried cumin. Stir while as the meat takes colour. Add the chopped tomatoes from the can (we're saving the fresh tomatoes for last), tomato purée, kidney beans, crumbled stock cube, sweetcorn and peppers and bring the lot to the boil.
5. Let simmer for about 10 minutes and then add salt, pepper, and optionally some more cumin to taste.
6. Warm the baguette. Mix quinoa and meat sauce together, arrange in a nice tray and top with fresh, rinsed, diced tomatoes, and an optional bit of greens if you have any to hand. Serve with the baguette, and a bit of tortilla chips if you want to spice things up a bit!
7. Enjoy!