Ingredients
( 1 )
- Batter
- 150 gramsbutter
- 200 mlmilk
- 50 gramsyeast
- 80 gramssugar
- 0.5 tspsalt
- 2 egg
- 600 gramsplain flour
- Remonce
- 150 grambutter
- 200 grambrown sugar- farin
About the recipe
25 MIN
60+ MIN
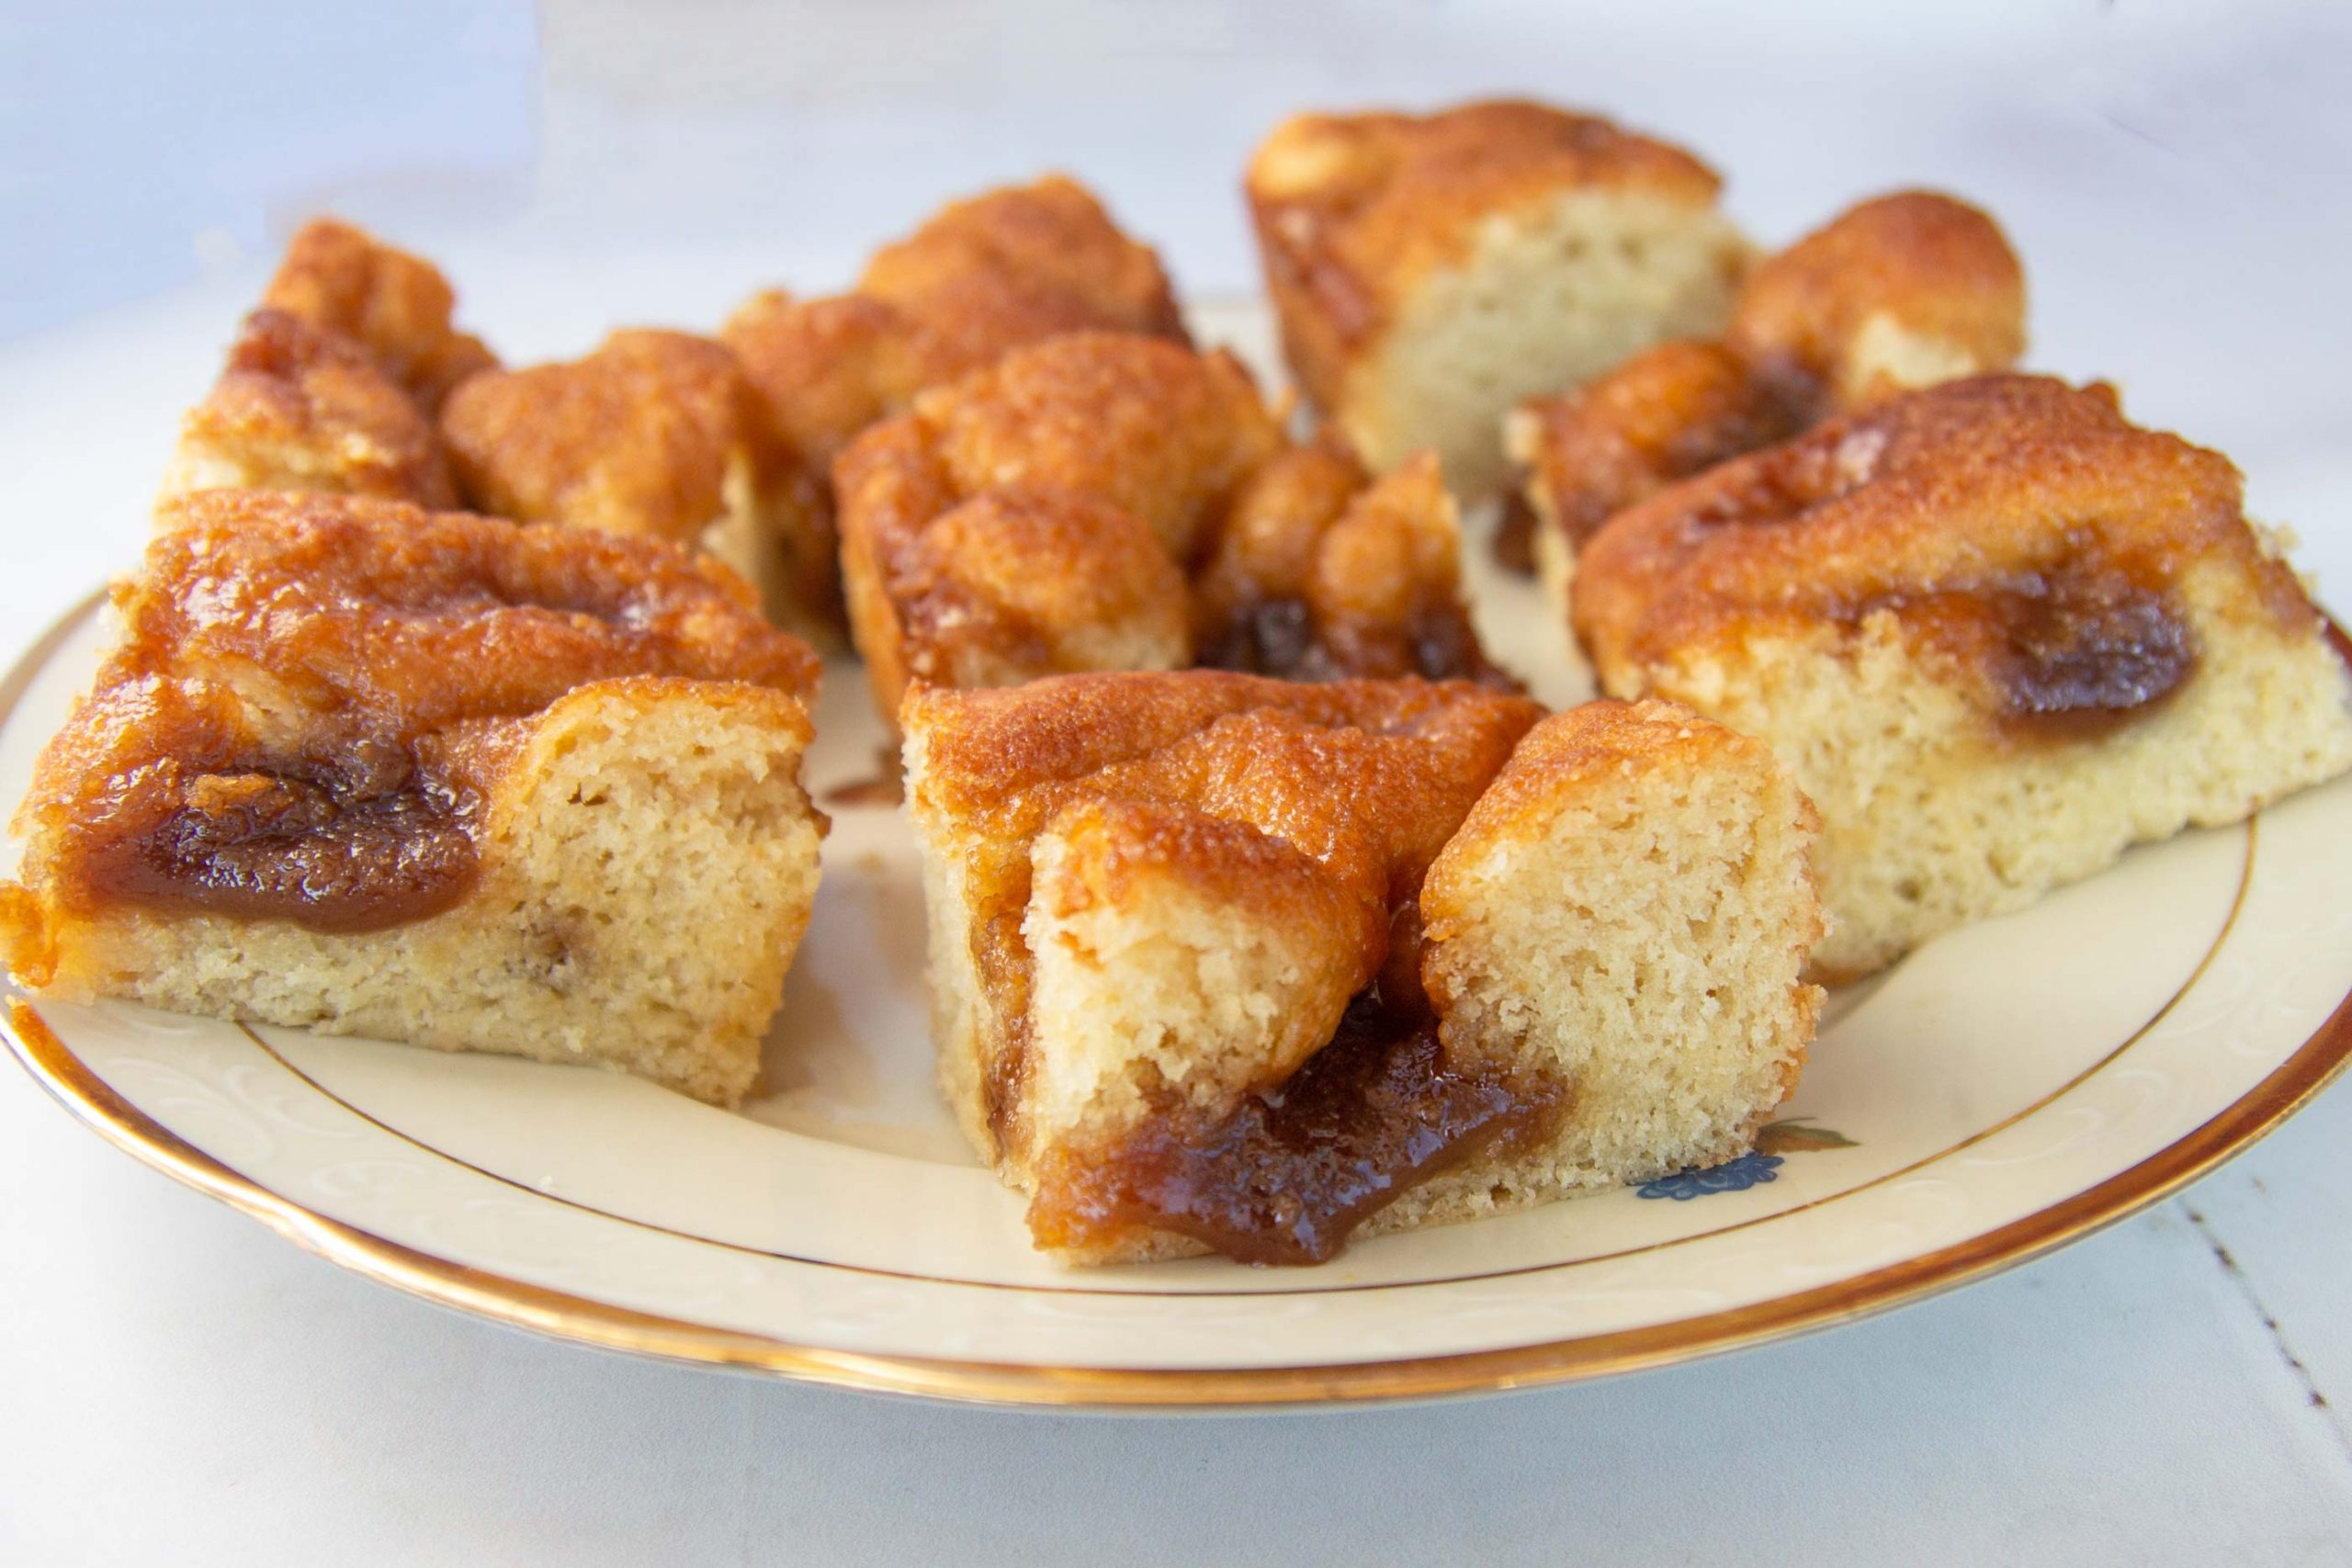
This one is straight out of Danish grandma's kitchen - don't worry if you haven't got one of those, that's what the recipe is for! As with most classics, brunsviger exists in millions of iterations - here we're serving up the totally classic version with PLENTY of butter and remonce. Enjoy!
Directions
Dough
1. Cut the butter into smaller pieces and melt in a pot or a glass bowl in the microwave. Remember to pop a lid on, as it can sputter quite aggressively.
2. Add milk so your wet mix is lukewarm, then crumble in the yeast to dissolve. Add sugar, salt and egg, and stir well. Finally add the flour, and stir everything together to a supple dough. Leave to rise under a cloth for about an hour.
Remonce
3. Preheat your oven to 175 degrees.
4. Once your dough has risen, melt butter for the remonce in a pot along with brown sugar. It's important that it doesn't boil - you just want it warm, but liquid. The best kind of brown sugar for this is brown farin, but that can be tough to find outside of Scandinavia - brown sugar will do fine in a pinch.
5. Roll out the dough so it fits an oven tray or large baking tin - about 30x35 cm. Lube the tin with butter, move the dough to the tin, then use wet fingers to poke 'valleys' in the dough (this is where all the tasty remonce will hide out).
6. Pour the remonce over in an even layer. Let the brunsviger rise for another hour, and finally bake for about 20 minutes. Let cool a bit before serving.
7. Yaaaayyy, it's finally cake time - enjoy!
Tip
Tasks for kids in the kitchen: Let your kids help mix the dough and poke 'valleys' for the remonce. They can also happily stir the pot and make the remonce.


