
Ingredients
Freezer friendly( 1 portion )
- Shortbread
- 150 gramsbutter
- 240 gramsplain flour
- 80 gramspowdered sugar
- 1 tspvanilla sugar
- 1 egg
- baking parchment
- Raspberry jam
- 250 gramsfrozen raspberries
- 150 gramssugar
- 1 tbspvanilla sugar
- Icing
- 100 gramspowdered sugar
- boiling water
- sprinkles of your choice
About the recipe
25 MIN
30 MIN
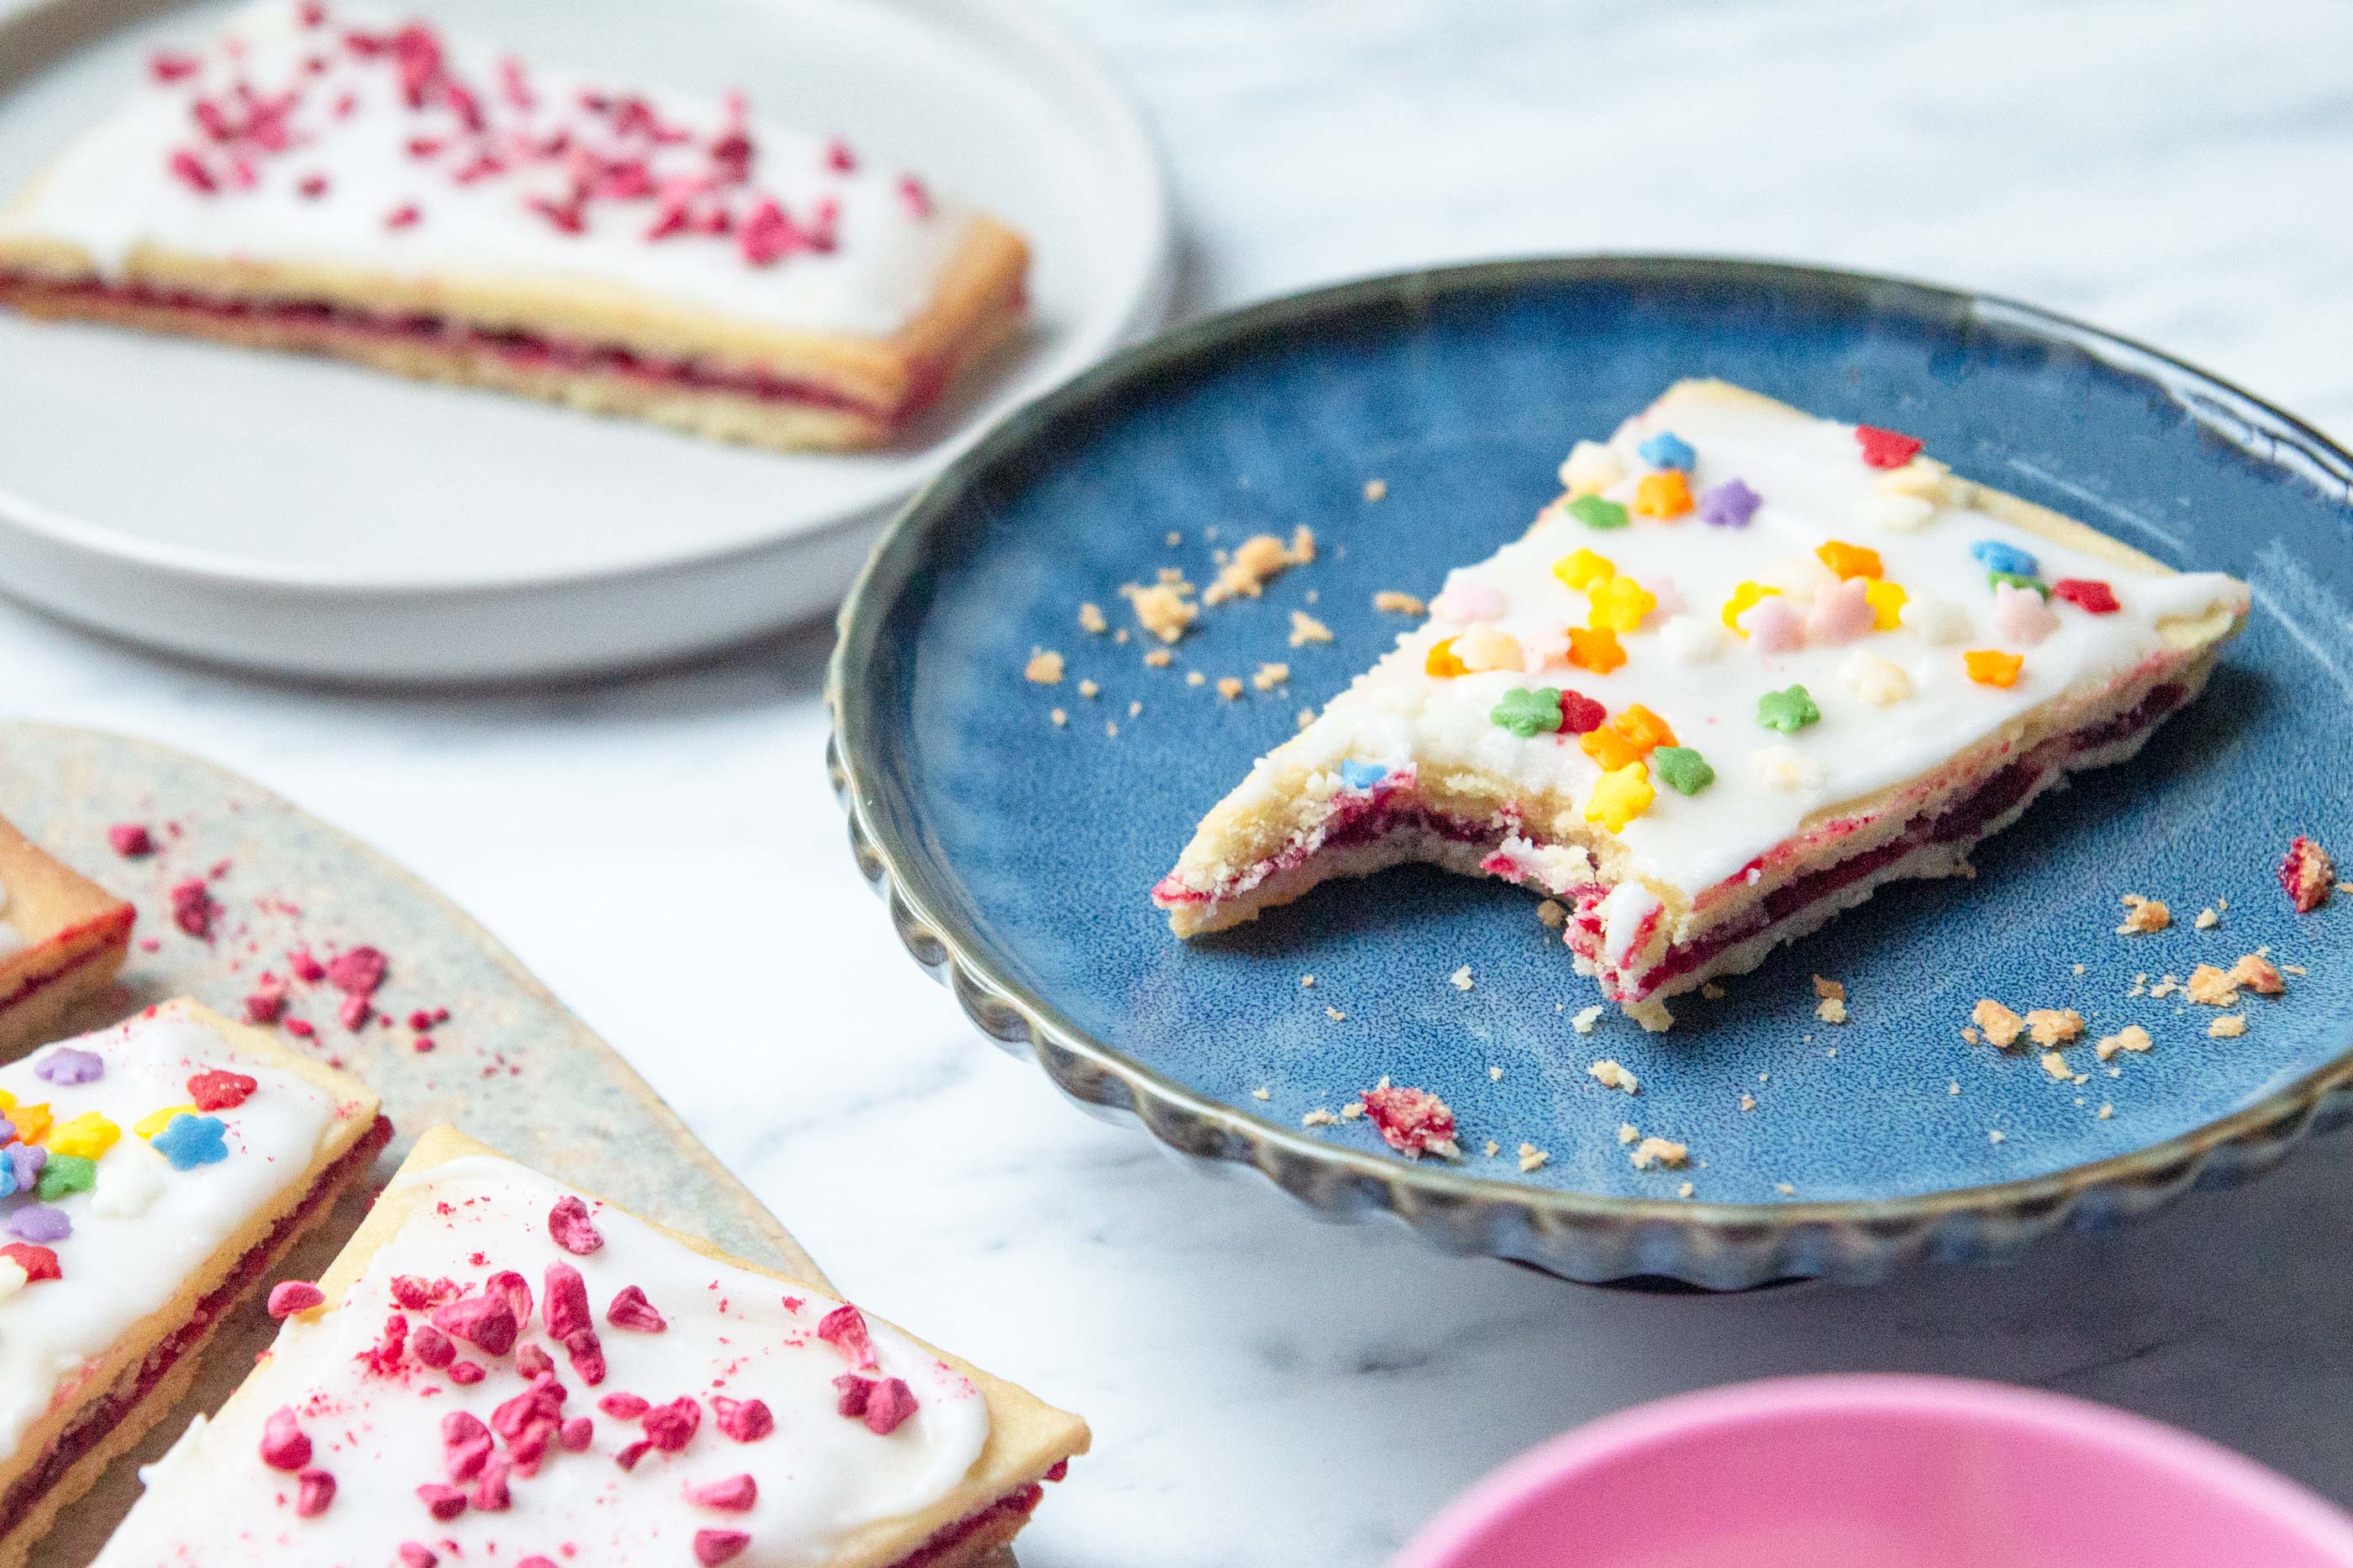
Raspberry shortbread is DELICIOUS! And if we may say, we think the Danish version wins out on this one... Grab the kids, bring them into the kitchen and try this easy and super yummy recipe. We've used homemade raspberry filling, which of course is in the recipe - but if you're in a rush, just grab your favourite raspberry jam. Enjoy!
Directions
Shortbread
1. Preheat your oven to 200 degrees convection. Give butter, flour, powdered and vanilla sugar a whirl in a big mini chopper or food processor, until you have a crumbly dough. Add the add and whirl it again until it comes together. If you don't have a food processor or the like, roll up your sleeves and get stuck in.
2. Roll the dough out into a square between two slices of baking parchment, or on a floured tabletop, so it measures roughly 30 x 40 cm.
3. Divide the dough into four equal-sized squares. Poke here and there with a fork, to keep it from bubbling up. Bake the shortbread in the oven for 10 minutes, then take it out.
Raspberry jam
4. Meanwhile, cook raspberry in a pot with sugar and vanilla sugar. Let it simmer for 10 minutes.
5. When your jam is ready, spread onto two of the baked shortbread squares, and place the other two on top, like a lid.
6. Mix powdered sugar with a bit of boiling water. Be careful not to add too much water at the start - you can always add more. Spread a ice layer of icing on top of the 'lid' and sprinkle with your choice of sprinkles. Now cut the squares into serving sizes entirely of your choosing - no judgment here.
7. Yum, it's munch time!